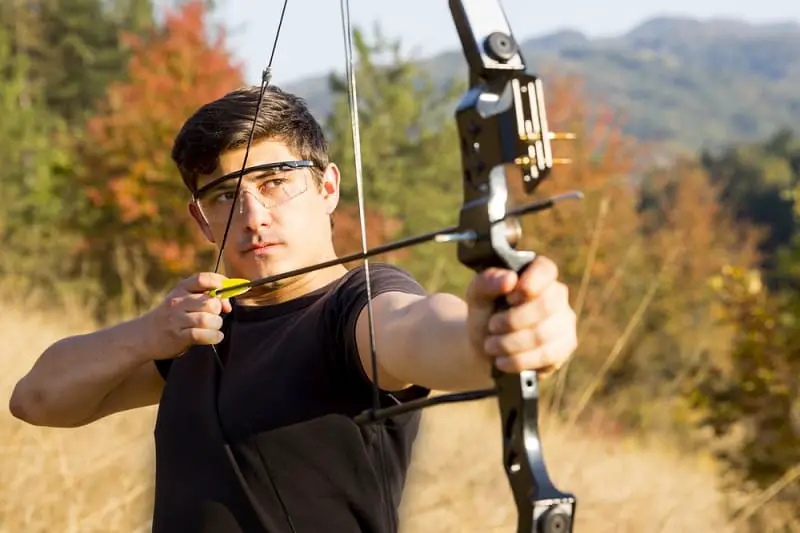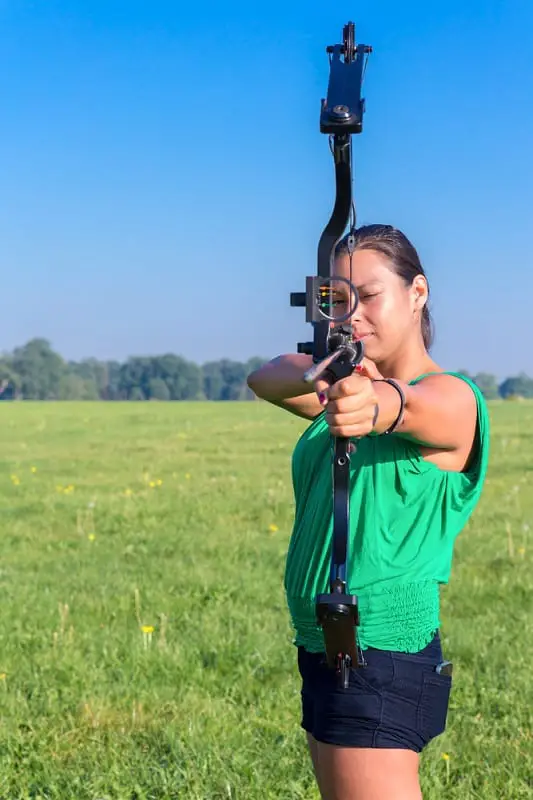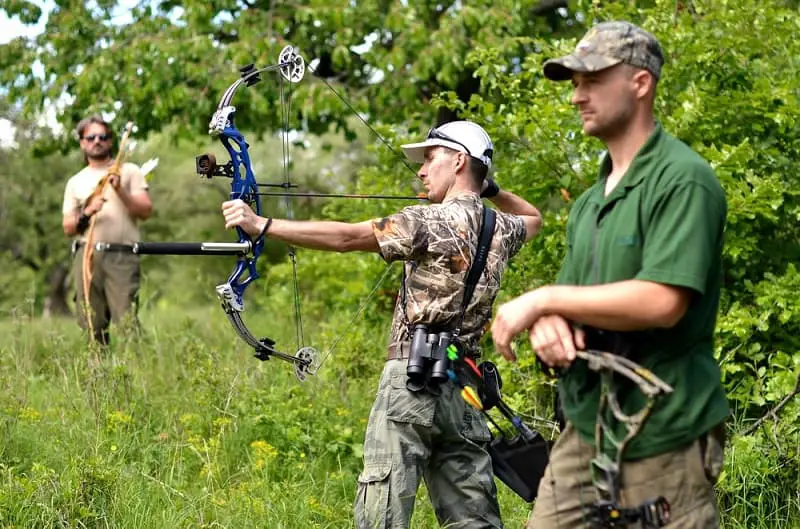
We’re here to explain how to aim a compound bow, and how we usually coach others to aim. It may or may not end up being the most accurate method for you. Archery is a very individual sport, and your shot sequence won’t be exactly the same as ours or anyone else’s. Either way, we hope you learn something you’re able to apply to your shooting.
This article is for archers shooting a compound bow, with either a fixed pin or single pin sight, no matter if you’re bow hunting or shooting target archery. We also recommend you have a peep sight installed on your bowstring; they are vital for accuracy with a compound bow.
For any recurve archers reading this, a lot of these instructions also apply for a recurve bow. With that out of the way, let’s dig into the aiming process.
Is your bow sighted in and ready to shoot? If not, give our How To Sight in a Compound Bow article a read and get your bow ready for some productive aiming practice.
How To Aim a Compound Bow
Step 1: Don’t Pre-Aim
What do we mean by pre-aim? Often, archers will place the sight pin on their target before drawing their bow, and try to keep it there throughout the rest of their shot. This sounds good in theory, because you won’t have to draw and then move your sight onto your target while holding your bow at full draw.
What actually ends up happening is that you have to draw your bow awkwardly while trying to force your sight to stay in the same place. At best, this is uncomfortable, and at worst, could cause an injury when you force your shoulders into an unnatural position.
Instead, don’t worry about where your sight is until you actually draw your bow back to full draw. Draw your bow back in a comfortable and repeatable way, get to a solid anchor point, and set yourself up for a good aim later in the shot.
Step 2: Line Up Your Peep and Sight
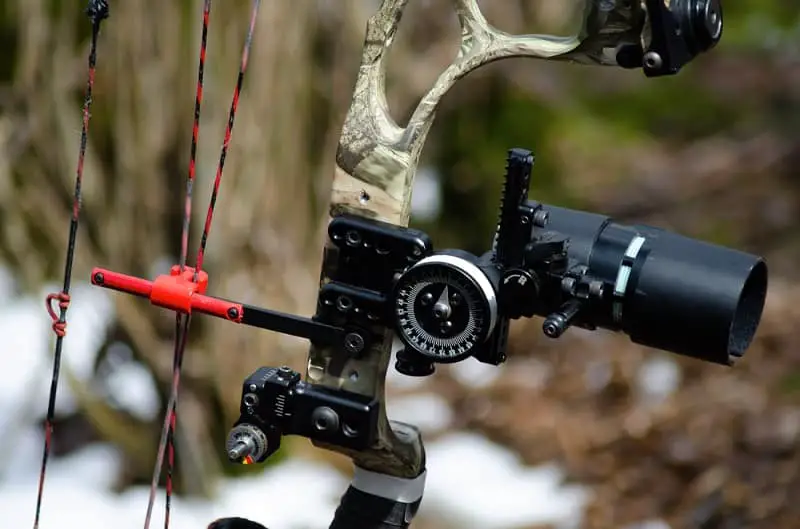
Now that you’ve got your bow drawn back and locked into your anchor point, it’s time to establish a rock-solid sight picture. The first thing you need to do is line your peep sight up with your bow sight’s round housing. Ideally, your peep sight and sight housing should be able to overlap each other with no gap between the two circles. If they don’t, you might be able to fix that by adjusting your peep size or changing the position of your sight on your bow riser.
If you can’t get them to line up perfectly, make sure you keep them centered inside each other as much as possible at full draw. It’s important to keep them lined up as well as you can throughout the rest of the shot.
Step 3: Level Your Sight
Some bow sights include a bubble level in the sight housing that you can see at full draw and throughout the shot. If you don’t have a level in your sight, skip this step. If you do have a level, this step is straightforward.
Similar to how you want to keep your peep and sight lined up during the shot, you also want to keep your bubble in the middle of the level. This will ensure you have a solid, consistent sight picture.
Step 4: Acquire the Target
With your sight picture established, it’s time to place your sight pin on the target. There’s nothing complicated to worry about here. Just move your sight over to your target while doing your best to maintain the alignment with your peep sight. Also, keep your level’s bubble in the middle, if you have one.
One thing we recommend as part of your shot sequence is to always draw with your sight either above or below your target, and then bring your sight to the target. Which direction you pick is down to personal preference. Try them out and see which feels more natural and relaxed. Paying attention to small details like this will increase your consistency and refine your shot sequence.
Step 5: Let the Sight Pin Float
If you only take away one thing from this article, let it be this: Your sight will never be perfectly still while aiming.
No archer’s sight pin will ever be perfectly still, even if you’re an Olympic gold medalist or the world’s greatest bowhunter. Your sight will “float” around your target while you’re aiming. It gets even worse when you add in factors like your fatigue level, nerves, and the extra caffeine you had before you started shooting today.
So, what do we do about that?
Let your sight float. Don’t fight it and try to muscle it into sitting on your target. You’ll waste a lot of energy doing this, and won’t shoot nearly as accurately. Your subconscious mind is very good at aiming, and will actually correct your sight and push it into the middle of your target when it floats off. It seems very counterintuitive, but with practice, you’ll wonder how you ever shot without letting the subconscious mind do the aiming.
If you don’t like how your sight is floating, there are a few things you can do to change it. Your stabilizers have a huge impact on your sight float. Don’t be afraid to experiment with how you mount your stabilizers, how much weight you have on them, and the number of stabilizers mounted on your bow.
How you are gripping your bow will also impact your float. Different hand angles or even different grips altogether may improve your sight float.
Step 6: Execute the Shot
If you haven’t yet, check out our How to Shoot a Bow and Arrow article. It’ll help this step make more sense, especially if you’re a beginner.
With a solid sight picture established, and our sight pin floating on the target, it’s time to shoot. Start to pull through your release with your back muscles. Keep your bow arm pushed toward the target, and let everything else relax as your release triggers and your arrow fires.
Step 7: Follow-Through
Your follow-through might not seem like it’s related to aiming your bow, but an excellent follow-through after the release fires will ensure that your arrow makes it to where you’re aiming every time.
Don’t give up on your aim when the release fires. Keep your bow held up like you’re still aiming—don’t drop it to try and peek at where the arrow went. Dropping your bow arm during the follow-through is a very common error among compound archers, and will cause your arrows to hit lower than where you’re aiming.

Aiming Drills
Now that you know how to aim, let’s cover some drills you can use during practice sessions to get better at this part of your shot sequence. They’ll benefit both bowhunters and target archers.
The most important factor is that you practice enough to reap the benefits and get better. The drills are in no specific order, so add them to your practice in the ways that benefit you the most.
Drill 1:
This first drill is a teaching aid for showing how well subconscious aiming and letting the pin float works. You won’t need your bow for this one.
Stand on the shooting line like you’re about to shoot. Hold your front arm up with your thumb up. Using your thumb as a sight pin, aim at the target. Have a friend gently push your arm in different directions.
Doing this, you’ll see that your subconscious mind will always correct your aim and push your sight pin (your thumb in this case) back into the middle of the target.
You can also do this drill, holding your bow up and aiming through the sight. Do it without nocking an arrow and drawing back, in case your arm gets pushed in an unsafe direction.
Drill 2:
This drill makes sure that having to aim at a target is not compromising any other part of your shot sequence, because aiming can often be a distraction that takes away from executing quality shots.
To start this drill, set up a target at a distance you’re very confident with. Make sure it’s big enough to hold a target to aim while also giving you a blank spot you can safely shoot. Start out by shooting arrows at the blank part of the target until you feel warmed up, confident, and are shooting with a relaxed aim and good follow-through.
Next, shoot some arrows at the target. Pay attention to the differences in how your shot sequence feels compared to the arrows you shot at the blank target. Pick one thing that you think you need to work on the most. It could be that when you shoot at the target, you’re dropping your arm, or not letting your sight pin float, or even that you’re not setting off your release with your back muscles.
Take whatever part of your shot sequence you’ve picked to focus on for this drill, and shoot at the target until you feel confident that you’ve improved on it. If you’re having trouble telling if you’ve improved, take a video of your shot or have an archery coach observe you.
When you feel that you’ve improved, start shooting arrows, alternating between the blank part of the target, and the regular target. Pay extra attention to your shot sequence, and make the shots at both types of target feel exactly the same.
Drill 3:
This drill will help you gain confidence with letting your pin float. It works especially well when you may see it drift a little further away from your target than you would like. We’ll use the same target setup as the drill before, but you may want to start a little closer until you’re more confident and shooting safely.
Draw your bow back and aim at the target, but don’t shoot your arrow. Let your sight pin naturally float around the target. How long you can do this will be mostly determined by how strong your back muscles and bow arm are.
Once your sight pin starts to float more than normal, move your sight over to the blank part of the target, and shoot your arrow. You could just let your bow down without shooting, but doing so repeatedly with a compound bow puts a lot of stress on your shoulders.
This drill forces you to get comfortable with letting your pin float. You spend a long time watching the pin. As an added bonus, holding your bow at full draw for a long time will also help build your archery muscles.
You fire your shot into the blank target so you also gain confidence seeing your pin float further away from the target than it usually does. You also don’t have to worry about where your arrow hits on the target after holding your bow back for so long.

How to Aim a Compound Bow FAQs
Should I shoot with a magnification lens in my sight?
This will be a personal preference. Some archers can’t aim well without one. If you have trouble seeing either your sight pin or target at full draw, a magnification lens in your sight will help. You can also get a lens for your peep sight, known as a clarifier.
There are a couple of downsides to using a lens. It can potentially crack, get scratched, or fog up at an inopportune time. You will also notice more movement in your sight at full draw.
Should I use a multiple pin or single pin sight?
This depends on the type of archery you shoot. Nearly all bowhunters will use a multiple pin sight. These sights allow them to make a shot quickly, and at most distances. There isn’t always enough time in a hunting situation to adjust your sight to the correct distance.
Some target archers use multiple pin sights, especially in 3D archery. Some equipment classes, usually called bowhunter classes, require you to use a multiple pin sight. They are also good for beginner and youth archers.
Single pin sights are popular with target archers. They allow you to have a sight picture with only one pin, so what you see at full draw is less cluttered. Single pin sights also give you the option to set your sight to any distance, which can be helpful at a tournament with a wide range of targets.

Glossary
Peep Sight: A small circular piece of plastic or metal that mounts on your bowstring, and lines up with your sight during the shot.
Sight Picture: What you see in your sight while you’re aiming at full draw.
Sight Pin: The thin metal or plastic pin in your sight that you use to aim. They usually have a fiber optic in them that makes the pin easier to see.
